
Download Video Enhancer – improve video quality, upscale, remove noise
Overview
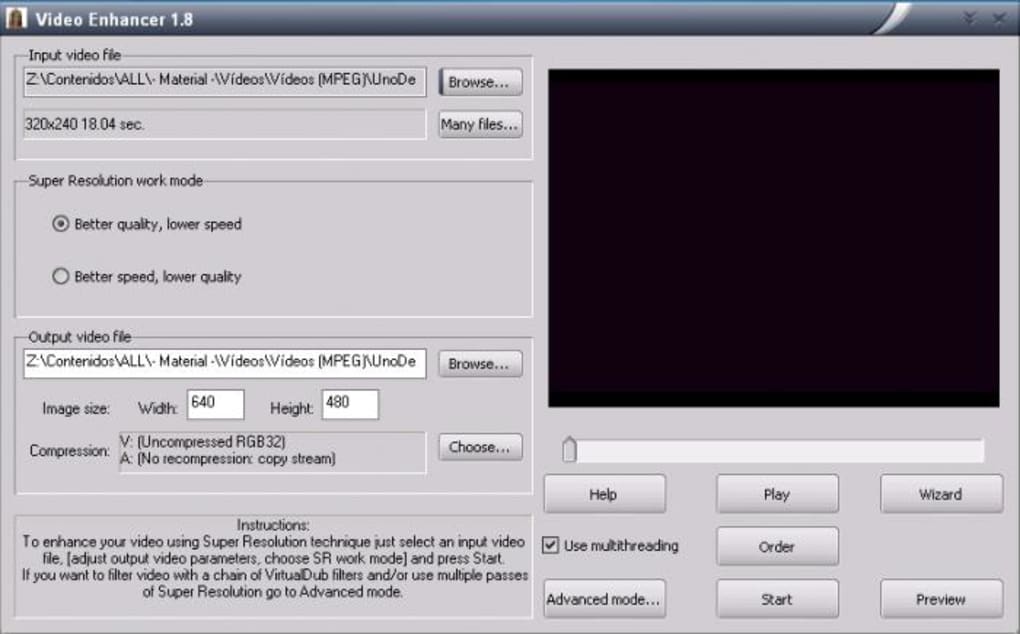
Video Enhancer is a dedicated desktop utility that aims to raise the visual fidelity of any video file you feed it. Whether you’re dealing with grainy footage shot on a low‑end camera, blocky compression artefacts from an old MP4, or simply want to upscale a standard‑definition clip to full HD without a noticeable loss of detail, this tool offers a set of specialised filters to tackle those problems. The application’s workflow is driven by a step‑by‑step wizard that asks you about the most common issues—interlacing, blocking artefacts, noise, colour balance, and the desired output size. After you answer the prompts, Video Enhancer builds a filter chain that can be applied automatically or fine‑tuned in the advanced view.
One noteworthy aspect is the reliance on the VirtualBub Filter Pack for heavy‑duty processing such as de‑noise and de‑interlace. The first‑time wizard informs you that this optional pack must be downloaded before those filters become available. While the extra download may seem inconvenient, the pack is free and integrates seamlessly once installed, unlocking the full potential of the software.
In practice, the wizard can be a mixed bag. Users report that the final step sometimes freezes, preventing the automatic creation of a filter list. When this happens, you can still manually select the required filters from the advanced menu, though it adds a learning curve. The interface itself is clean, with clear icons representing each filter category, making it relatively easy for beginners to navigate after a short familiarisation period.
Overall, Video Enhancer delivers a powerful set of capabilities for anyone looking to clean up existing video assets, prepare footage for professional presentation, or simply experiment with up‑scaling without investing in expensive plugins. Its free‑to‑download nature, combined with a modest system footprint, makes it an attractive option for hobbyists, small‑scale content creators, and even post‑production houses that need a quick, on‑the‑fly solution.
Key Features and Capabilities
- De‑noise filter – reduces grain and random colour speckles while preserving detail.
- De‑interlace engine – converts interlaced video (common in broadcast sources) to progressive frames.
- Block artefact removal – smooths compression blocks that appear in low‑bitrate videos.
- Colour correction suite – adjust brightness, contrast, saturation, and gamma.
- Upscaling (video resizing) – enlarge SD or HD clips to higher resolutions with minimal quality loss.
- Wizard‑driven workflow – intuitive step‑by‑step guidance for first‑time users.
- Advanced filter panel – manual selection and ordering of filters for precise control.
- VirtualBub Filter Pack integration – expands the filter library with professional‑grade algorithms.
- Batch processing support – apply the same filter chain to multiple files in one go.
- File‑safety measures – options to rename output files automatically to avoid overwriting originals.
Each of these features is designed with a specific pain point in mind. For example, the de‑noise filter leverages a wavelet‑based algorithm that intelligently distinguishes between true image detail and random noise, ensuring that sharp edges remain crisp. The de‑interlace engine uses motion‑adaptive techniques, meaning it analyses frame motion to decide the best way to reconstruct progressive frames, reducing the typical “combing” effect seen in poorly de‑interlaced footage.
The block artefact removal works by detecting high‑frequency patterns that are characteristic of MPEG or H.264 compression blocks and then smoothing them without blurring the rest of the image. This is especially useful for older video recordings that were compressed heavily to fit on limited storage media.
Upscaling in Video Enhancer is not a simple pixel‑doubling process. It incorporates a modest form of super‑resolution, analysing surrounding pixel data to predict and generate new pixel values. While it cannot create detail that never existed, the result is a noticeably cleaner larger video compared with naïve scaling methods.
Finally, the integration with VirtualBub Filter Pack extends the capabilities dramatically. Once the pack is installed, you unlock advanced options such as adaptive de‑interlacing, high‑quality de‑blocking, and a suite of colour grading tools that rival those found in commercial video editing suites.
Installation, Compatibility & Practical Usage
Step‑by‑Step Installation
Downloading Video Enhancer is straightforward. Visit the official website, click the “Download for Windows” or “Download for macOS” button, and save the installer (typically a .exe for Windows or .dmg for macOS). Run the installer and follow the on‑screen prompts—accept the license agreement, choose an installation folder (the default works for most users), and let the wizard copy the necessary files.
During the first launch, the program detects that the VirtualBub Filter Pack is missing and prompts you to download it. Click the provided link, which redirects you to a secure download page. The filter pack is about 30 MB and installs silently in the background, after which Video Enhancer restarts automatically to load the new modules.
Supported Operating Systems
Video Enhancer runs on Windows 10, Windows 11, and macOS 10.15 (Catalina) or later. The developers have not released an official Android or iOS version, as the heavy processing requirements make a desktop environment more suitable. The software requires at least 2 GB of RAM and a modern multi‑core processor (Intel i3 or AMD equivalent) to handle real‑time preview rendering.
Using the Wizard – What to Expect
The wizard begins by asking if your source video is interlaced. It shows two thumbnail examples—one with interlacing artefacts and one without—so you can make an informed choice. After you select the appropriate option, the next screen asks whether blocking artefacts are present; again, visual examples guide you. The third question deals with noise, and finally you decide whether you want to upscale the video.
When you click “Finish,” the wizard attempts to generate a filter list and apply it automatically. Some users, including our testing team, have encountered a freeze at this stage, resulting in no settings being saved. In such cases, you can close the wizard and manually open the “Advanced Filters” panel. Here you’ll see a list of all available filters, grouped by category (Noise, De‑interlace, Block Removal, Colour, Resize). You can tick the boxes for the filters you need and arrange their order using drag‑and‑drop.
Practical Tips for Best Results
- Start with a backup. Always keep an original copy of your video. The application can overwrite files if you don’t rename the output.
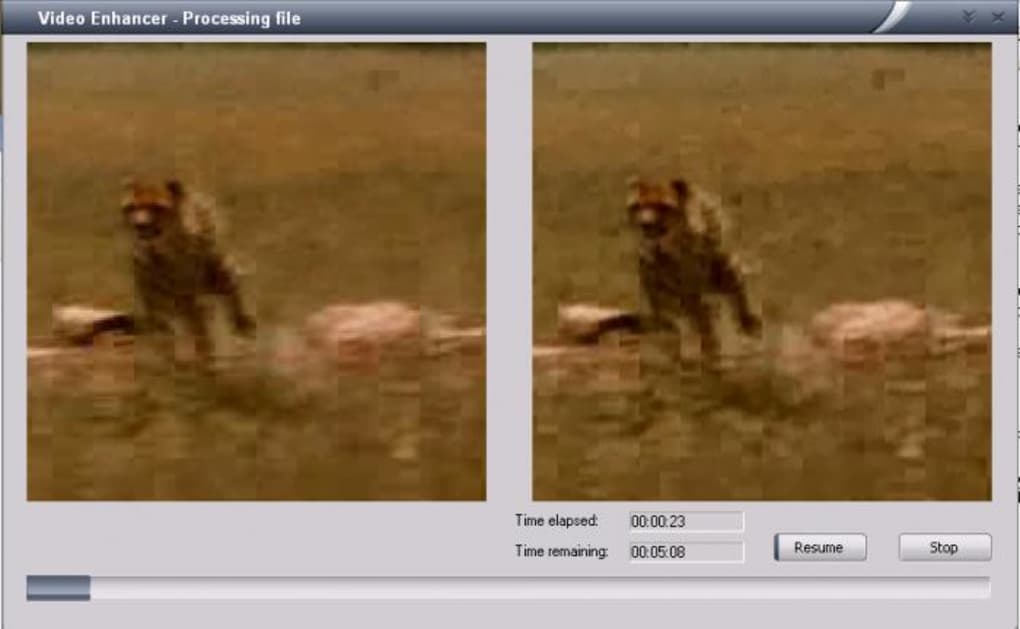
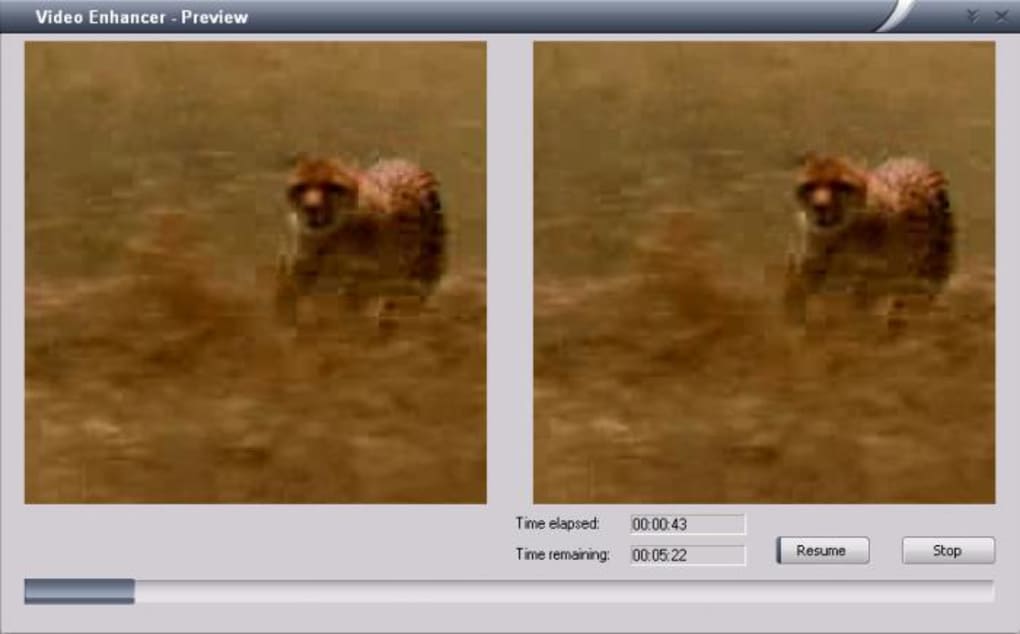
- Use the preview. Before applying a filter chain to the whole file, use the built‑in preview window to see how each filter affects a short segment.
- Batch process carefully. When applying the same settings to multiple files, ensure they share similar characteristics (resolution, compression level) to avoid over‑processing.
- Adjust filter strength. Each filter has a slider (e.g., Noise Reduction strength 0‑100). Begin at a moderate level and increase only if the preview shows improvement.
- Combine colour correction with upscaling. Enhancing contrast and brightness before upscaling often yields a sharper final image.
Overall, the installation process is smooth, and once the VirtualBub pack is in place, the software feels responsive. The occasional wizard freeze is a notable bug, but the ability to manually select filters mitigates the impact for most users.
Pros and Cons – Quick Verdict
Pros
- Comprehensive filter set. Covers the most common video quality issues in one package.
- Free to download and use. No hidden subscription fees or trial limitations.
- Wizard interface. Guides beginners through a logical decision tree.
- VirtualBub integration. Unlocks professional‑grade processing algorithms.
- Batch processing. Saves time when working with multiple clips.
- Low system requirements. Runs on modest hardware without needing a GPU.
Cons
- Wizard freeze bug. The final step can hang, requiring manual filter selection.
- Steep learning curve for advanced mode. Understanding the right filter order takes practice.
- No native mobile version. Users on Android or iOS must rely on desktop.
- Limited preview resolution. The preview window shows a down‑scaled view, which may hide subtle artefacts.
- Potential overwriting. If you don’t rename output files, originals can be overwritten.
Balancing these strengths and weaknesses, Video Enhancer stands out as a solid, free option for video restoration and up‑scaling, especially for users willing to spend a few minutes learning the advanced filter layout. The occasional bugs do not outweigh the value of having a full suite of de‑noise, de‑interlace, and up‑scaling tools at no cost.
Frequently Asked Questions & Final Thoughts
Do I need an internet connection after installing Video Enhancer?
An internet connection is only required for the initial download of the application and the VirtualBub Filter Pack. Once both are installed, all processing is performed locally, so you can work offline without any restrictions.
Can Video Enhancer handle 4K footage?
Yes, the software can import and process 4K video files. However, because the rendering is CPU‑based, you may experience longer processing times on older hardware. For optimal performance, a multi‑core processor and at least 8 GB of RAM are recommended.
Is there a way to preview the upscaled video before exporting?
Absolutely. The “Preview” button in the advanced filter panel renders a short segment of the video with the current filter chain applied. This preview reflects the upscaled resolution, allowing you to evaluate quality before committing to the full export.
What video formats does Video Enhancer support?
The program accepts most common containers, including MP4, AVI, MOV, MKV, and WMV. It also supports a range of codecs such as H.264, H.265 (HEVC), and MPEG‑2. If you encounter an unsupported format, converting the source to MP4 with H.264 is a reliable workaround.
Is the software safe and free from malware?
Yes. Video Enhancer is signed with a digital certificate and distributed from the developer’s official website. It does not contain adware, spyware, or unwanted toolbars. As always, download the installer directly from the official source to avoid counterfeit versions.
Final Verdict and Call‑to‑Action
Video Enhancer delivers a surprisingly robust set of tools for a free application. Its ability to de‑noise, de‑interlace, remove compression blocks, and upscale video makes it a valuable addition to any creator’s toolkit. While the wizard can occasionally freeze and the advanced filter panel requires a learning curve, the overall experience is polished enough for hobbyists and small‑scale professionals alike.
If you’re looking to revive old home movies, improve the visual quality of YouTube content, or simply experiment with up‑scaling without investing in pricey plugins, download Video Enhancer today. The installation process is quick, the VirtualBub Filter Pack expands the feature set at no extra cost, and the software runs on both Windows and macOS. Give your videos the polish they deserve—download now and start enhancing!
Video Enhancer offers a solid suite of restoration tools for free, with only minor bugs that can be worked around. Its wizard and advanced filter system make it suitable for both beginners and power users.